EFK(FluentD, Opensearch, Open-DashBoard) 로그수집
##EFK(FluentD, Opensearch, Open-DashBoard) 로그수집
1. 아키텍처 구성
- LogGenerator로 로그를 생성하여, FluentD로 수집하고 Opensearch로 전송 및 OpenDashboard와 연동하여 시각화할 수 있게 구성한다.
- 서버는 EC2 환경에서 진행한다.
- 필자의 os환경은 윈도우이다.
2. 컴포넌트 설치 및 설정
2.1 EC2 인스턴스 생성 및 Putty를 통한 접속
EC2 프리티어를 지원하는 t2.micro로 인스턴스타입을 생성하고 Running한다.
Security Groups설정에서 Inbound Rules를 편집하여 5601(Opensearch에서 DashBoard와 통신)포트와 HTTP의 80번포트, HTTPS의 443포트에 대해서 Anywhere로 지정해준다.
putty의 hostname에서 자신이 설치한 서버환경(os)를 써주고 ‘@’ 뒤에는 EC2인스턴스의 고유한 퍼블릭 dns server 주소를 적어준다.
좌측의 SSH→Auth탭으로 들어가 ‘Private key file for authentication’의 EC2에서 발급받은 PPK키를 입력해준다. (Pem키일경우 Putty Gen을 이용하여 PPK키로 변경해서 넣어준다.)
그리고 open을 클릭하여, EC2 자신이 설정한 os환경에 제대로 접속이 되었는지 확인한다.
(SK 공유기를 사용하는 wifi인경우 접속이 잘 안되는경우가 있다. 그경우 다른 wifi나 모바일 핫스팟을 이용해야한다.)
2.2 FluentD설치 및 설정
sudo apt update
sudo apt install build-essential -y
업데이트가능한 최신리스트를 불러오고, 개발 관련 툴킷을 설치한다.
sudo apt install ruby-rubygems -y
sudo apt install ruby-dev -y
FluentD는 Ruby기반으로 개발되었기때문에 rubygem을 설치해준다.
sudo gem install fluentd --no-doc
FluentD를 설치한다.
fluentd --setup ./fluent
FluentD의 디렉토리를 설정해준다.
fluentd -c ./fluent/fluent.conf -vv &
이 명령어를 통해 fluentd를 실행 할 수 있다.
2.2 로그파일을 얻어오기 위한 LogGenerator를 설치
mkdir loggen && cd loggen
wget https://github.com/mingrammer/flog/releases/download/v0.4.3/flog_0.4.3_linux_amd64.tar.gz
loggen이라는 디렉토리를 만들고 그 안에서 설치파일을 받아온다.
tar -xvf flog_0.4.3_linux_amd64.tar.gz
loggen 디렉토리에서 압축을 해제한다.
./flog -f json -t log -s 1m -n 1000 -o $filename -w &

./flog -f apache_common -t log -s 1m -n 1000 -o $filename -w &
json형식과 apache형식으로 로그를 생성한다.
2.3 Opensearch설치 및 설정
mkdir opensearch && cd opensearch
wget https://artifacts.opensearch.org/releases/bundle/opensearch/2.4.0/opensearch-2.4.0-linux-x64.tar.gz
설치파일을 받아온다. (자신의 환경에 맞춰서 지정해준다.)
tar -xvf opensearch-2.4.0-linux-x64.tar.gz
압축해제한다.
cd opensearch-2.4.0
export OPENSEARCH_HOME=$(pwd)
- 주요 디렉토리
- bin : 실행파일들이 위치한다.
- config : 설정파일들이 위치한다.
- data : opensearch가 데이터를 저장하는 위치이다.
- jdk : 내장jdk가 있는 위치이다.
- logs : log 디렉토리이다.
- plugins : 각종 기능들이 plugin들이 있다.
- OpenSearch의 포트사용처

cd ./opensearch/opensearch-1.4.0/config/opensearch.yml
vi opensearch.yml
- opensearch.yml vi에디터
network.host: 0.0.0.0
discovery.type: single-node
저장하고 나온다.
bin/opensearch-plugin remove opensearch-security
bin/opensearch-plugin remove opensearch-security-analytics
실습을 위해 보안설정 플러그인을 삭제해준다.
2.4 FluentD로 로그파일 읽어서 보내기
input : source
match : output( stdout, opensearch …)
filter : filtering
등등 구성되어있다. 자세한 내용은 fluentd 메뉴얼을 참조하면된다.
fluentd 디렉터리에 fluent.conf파일에 다음과 같이 작성해준다
<source>
@type tail
tag log.json.*
path /home/ubuntu/loggen/json-*.log
pos_file positions-json.pos
read_from_head true
follow_inodes true
<parse>
@type json
time_key datetime
time_type string
time_format %d/%b/%Y:%H:%M:%S %z
</parse>
</source>
json버전 파일
<source>
@type tail
tag log.apache.*
path /home/ubuntu/loggen/apache-*.log
pos_file positions-apache.pos
read_from_head true
follow_inodes true
<parse>
@type regexp
expression /^(?<client>\S+) \S+ (?<userid>\S+) \[(?<datetime>[^\]]+)\] "(?<method>[A-Z]+) (?<request>[^ "]+)? (?<protocol>HTTP\/[0-9.]+)" (?<status>[0-9]{3}) (?<size>[0-9]+|-)/
time_format %d/%b/%Y:%H:%M:%S %z
</parse>
</source>
정규표현식을 활용한 apache파일
<match log.json.**>
@type stdout
</match>
<match log.apache.**>
@type stdout
</match>
출력은 확인을 위해 일단 stdout으로 사용한다.
fluentd -c ./fluent.conf -vv
fluentd를 실행하여 정상적으로 로그가 올라가는지 확인하고 정상적으로 올라갔다면, fluentd에서 opensearch로 전송하는 플러그인 설치가 필요하다.
sudo fluent-gem install fluent-plugin-opensearch
플러그인을 설치한다.
<source>
@type dummy
tag dummy
dummy {"hello":"world"}
</source>
<match dummy>
@type opensearch
host $your_opensearch_host
port 9200
index_name fluentd-test
</match>
fluent.conf파일에 간단한 더미데이터를 보내 opensearch와 잘연동이 되는지 확인한다.
(opensearch_host자리에는 ec2의 private ip address를 써준다.)
fluentd -c ./fluent.conf -vv
fluentd를 실행한 후
curl -XGET http://$your_opensearch_host:9200/_cat/indices?v
해당 인덱스이름인 fluentd-test가 뜨는지 확인한다. 잘뜬다면 loggenerator를 통해 생성한 json, apache파일들의 match를 opensearch로 보낼 수 있게 타입수정및 포트를 수정한다.
<match log.apache.**>
@type opensearch
host $your_opensearch_host
port 9200
index_name apache-log
</match>
<match log.json.**>
@type opensearch
host $your_opensearch_host
port 9200
index_name json-log
</match>
- 인덱스를 생성할 때 timeformat으로 지정하기
<match log.json.**>
@type opensearch
hosts $your_opensearch_host:9200
logstash_format true
logstash_prefix json-timelog
include_timestamp true
time_key datetime
time_key_format %d/%b/%Y:%H:%M:%S %z
</match>
2.5 OpenDashboard 설치 및 세팅
opensearch디렉토리 안에서 설치하도록한다.
wget https://artifacts.opensearch.org/releases/bundle/opensearch-dashboards/2.4.0/opensearch-dashboards-2.4.0-linux-x64.tar.gz

tar -zxf opensearch-dashboards-2.4.0-linux-x64.tar.gz
vi config/opensearch_dashboards.yml
opensearch_dashboards.yml파일을 다음과 같이 수정한다.
server.host: $your_ec2_public_dnsname
server.port: 5601
opensearch.hosts: [http://$your_ec2_private_ipv4:9200]
opensearch.ssl.verificationMode: none
opensearch.username: kibanaserver
opensearch.password: kibanaserver
./bin/opensearch-dashboards-plugin remove securityAnalyticsDashboards
./bin/opensearch-dashboards-plugin remove securitytDashboards
보안 관련 플러그인을 삭제한다.
./bin/opensearch-dashboards
opensearch-dashboards를 실행한다. opensearch가 구동되는 환경에서 실행해야한다.

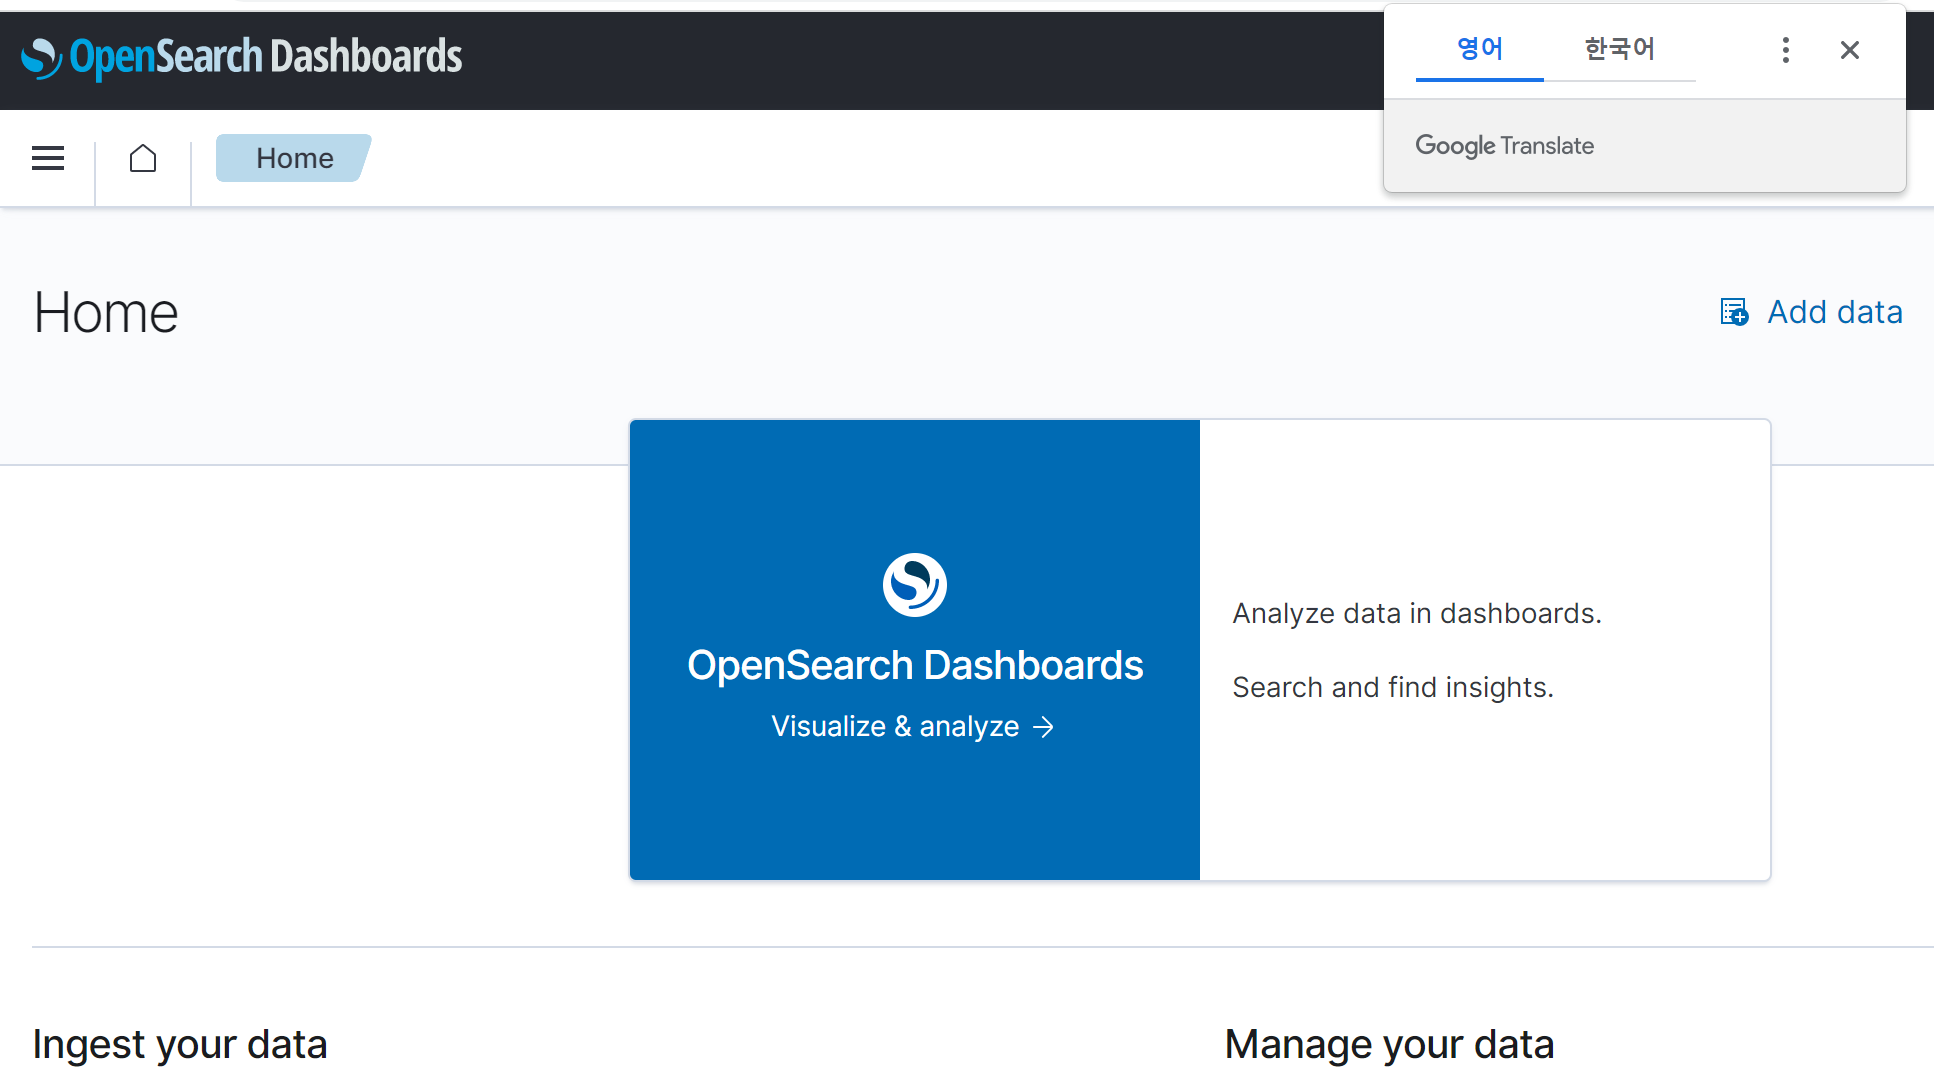
다음과 같은 화면이 뜬다면, opensearch와 opendashboard가 성공적으로 연동된것이다.

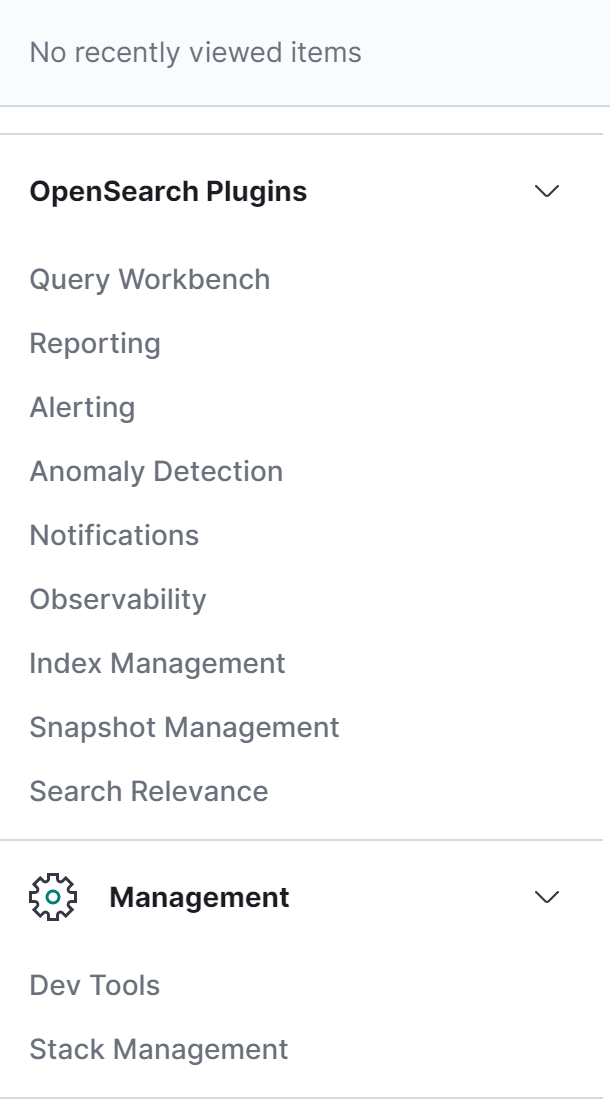
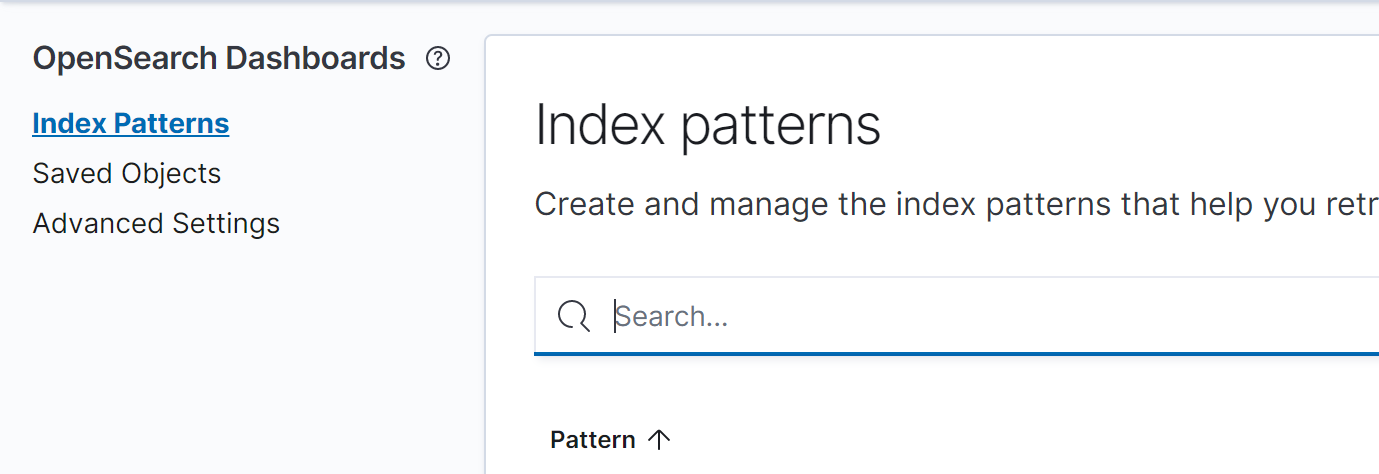
stack Management로 접속하여, index Patterns로 접속한뒤 우리가 설정한 인덱스 네임을 조회하면 생성한 index가 조회될 것 이다.


댓글남기기